
Windows Claude Code Installation Tutorial
Keywords: Windows Claude Code installation, Claude Code Windows tutorial, Claude Code plugin installation, Node.js Claude Code configuration, GAC authorization Claude Code, API Key Claude Code configuration
Claude Code is a powerful AI coding assistant that integrates into IDEs (such as VS Code) on Windows to boost development efficiency. This tutorial walks through two ways to install Claude Code on Windows: GAC in-site authorization (recommended for IDE plugin integration) and API Key configuration. Whether you're a first-time installer or troubleshooting an issue, this guide steps you through deployment. The tutorial is based on Node.js 18+ to ensure compatibility. Before installing, please prepare a VPN/proxy tool (some steps require access to external resources).
Note: Installing Claude Code requires Node.js, npm and Git. The whole process doesn't need complex proxies, but during authorization you may need to turn off your VPN to avoid interference. Estimated installation time: 10-15 minutes.
Installation Method 1: GAC In-Site Authorization (recommended for IDE plugin users — choose either method)
This method authorizes through the GAC official website — simple and fast, great for first-time users. If you use Claude Code as a plugin in your IDE, choose this method first.
1. Check your Windows system environment (Node.js, npm, Git)
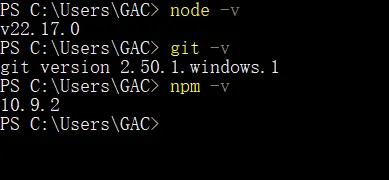
First, make sure your Windows system has the following tools installed. Open Command Prompt (CMD) or PowerShell and run these commands to check versions:
node -v    // Node.js version must be 18 or higher
npm -v
git -v- If the commands output normal version numbers, your environment is ready.
- Download links:
If the npm command reports an error (permission issue), run the following PowerShell command to set the execution policy:
Set-ExecutionPolicy RemoteSignedType Y to confirm.
2. Install Claude Code
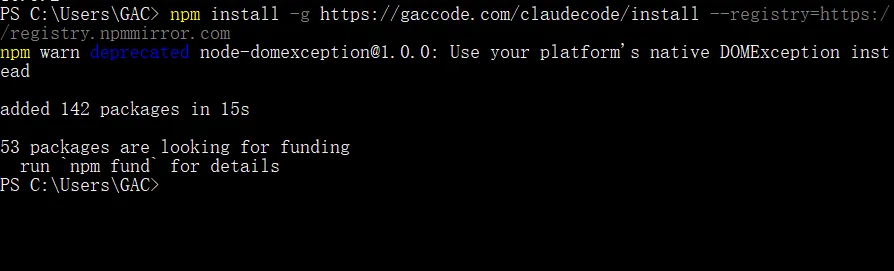
Once the environment is configured, run the following npm global install command (using a domestic mirror for speed):
npm install -g https://gaccode.com/claudecode/install --registry=https://registry.npmmirror.comThe installation may take a few minutes; you can use it once it's done.
3. First login and GAC authorization verification
After installation, log in with this command:
claude login- On first use, GAC opens a browser window requesting subscription verification. Complete the authorization through the browser (no proxy needed).
- If it doesn't pop up automatically, copy the link from the command line and open it in your browser. After authorizing, copy the verification code from the web page back to the command line and press Enter to continue.
- After logging in, choose your interface theme and allow Claude Code to access files in the current directory.
Authorization success means you're done! 🎉
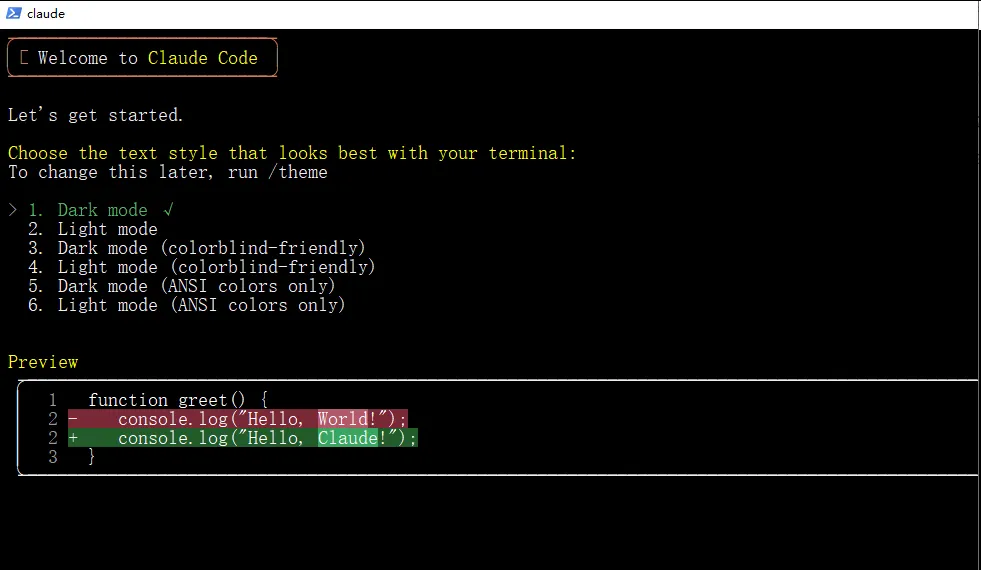
Congratulations! Claude Code is installed and deployed successfully. You can now use it directly in the command line, or integrate it into an IDE plugin to speed up coding.
4. Common troubleshooting (Method 1)
- Authorization failure: Turn off your VPN or local proxy, restart the terminal, and run
claude loginagain. - Error "401 No valid credentials provided" (if you've used other sites before):
- Delete environment variables: Win + R > enter
sysdm.cpl> Advanced > Environment Variables > User variables > delete all variables starting with ANTHROPIC > Save > open a new command line and runclaude login. - Or edit the JSON config: navigate to
C:\Users\YourUsername\.claude, modify or deletesettings.json, then retry logging in.
- Delete environment variables: Win + R > enter
Installation Method 2: API Key Configuration (for users with custom keys)
This method gets an API Key from the GAC official website for configuration, offering more flexibility. Suitable for users who need precise access control.
1. Check your Windows system environment (Node.js, npm, Git)
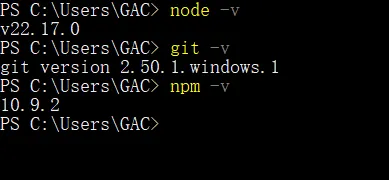
Same as Method 1, run these commands to verify:
node -v    // Node.js version must be 18 or higher
npm -v
git -v
Download links are the same as above. If npm reports an error, run Set-ExecutionPolicy RemoteSigned and confirm Y.
2. Install Claude Code
Run the official npm install command:
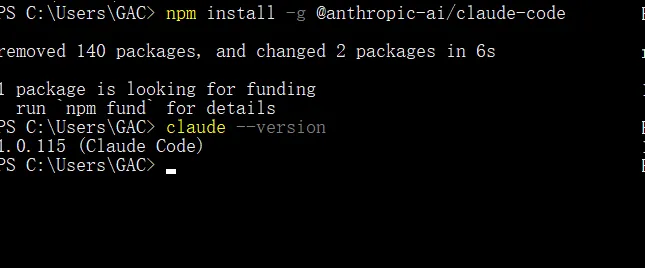
npm install -g @anthropic-ai/claude-code
claude --version
Check the version output to confirm installation succeeded.
3. Configure the API key
- Get your key from the API Key section of the GAC official website (gaccode.com).
- Navigate to
C:\Users\YourUsername\.claude, modify or create asettings.jsonfile, and add the following (replace with your actual key):
{
  "env": {
    "ANTHROPIC_BASE_URL": "https://gaccode.com/claudecode",
    "ANTHROPIC_API_KEY": "你的API密钥"
  }
}
4. Configure jq (optional, run in Git Bash; needs a VPN)
Most users can skip this step. If Claude Code runs normally after Step 3, ignore this section.
In Git Bash, run:
curl -L https://github.com/stedolan/jq/releases/latest/download/jq-win64.exe -o /tmp/jq.exe
mkdir -p ~/bin
mv /tmp/jq.exe ~/bin/jq.exe
export PATH=$PATH:~/bin
jq --version
Then set environment variables:
export ANTHROPIC_BASE_URL=https://gaccode.com/claudecode
export ANTHROPIC_API_KEY=你的API密钥
Update the config file:
(cat ~/.claude.json 2>/dev/null || echo 'null') | jq --arg key "${ANTHROPIC_API_KEY: -20}" '(. // {}) | .customApiKeyResponses.approved |= ([.[]?, $key] | unique)' > ~/.claude.json.tmp && mv ~/.claude.json.tmp ~/.claude.json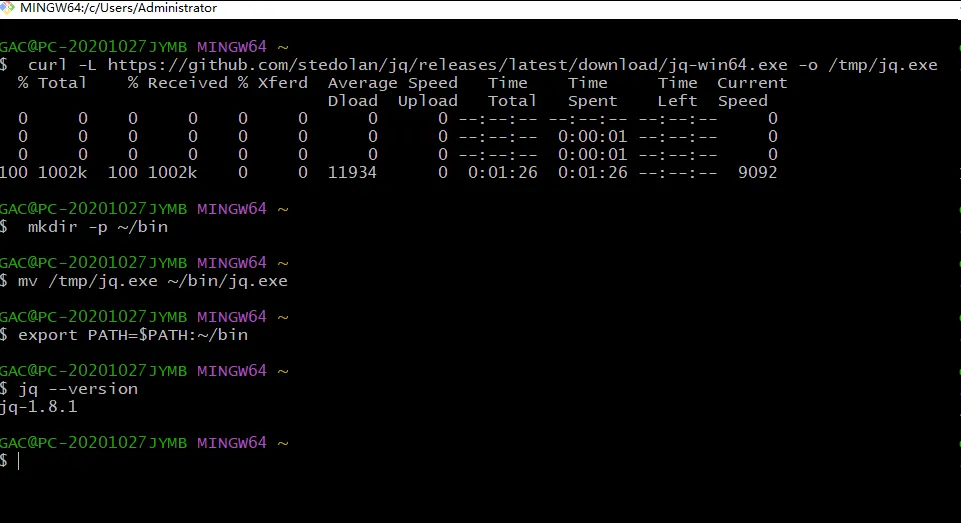
5. Log in to Claude Code and integrate with your IDE
After configuration, open a new PowerShell or CMD and run:
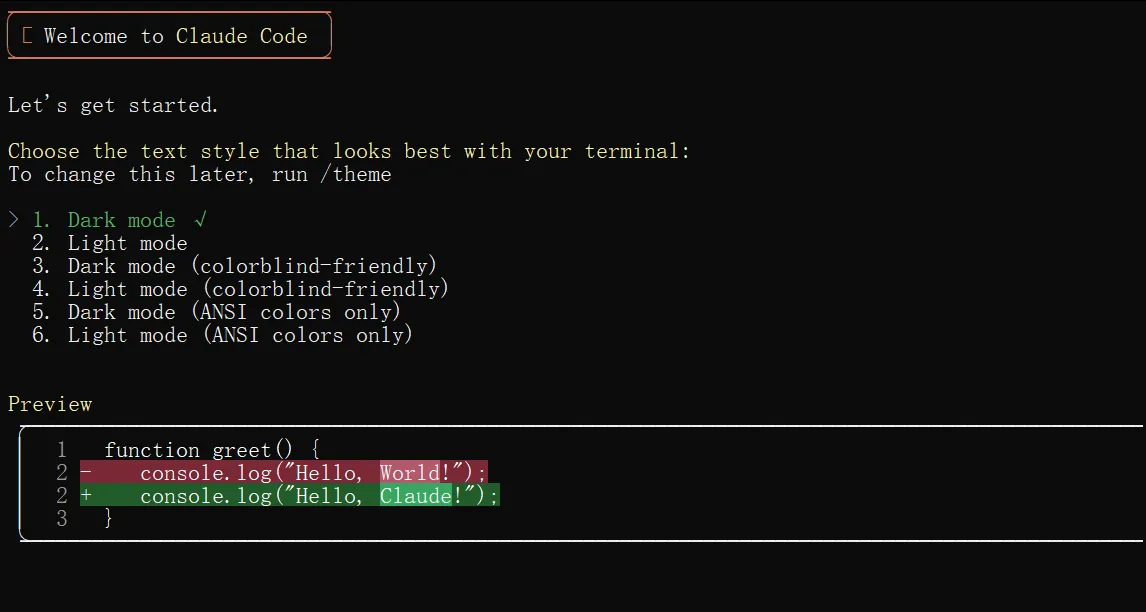
claude login- Choose a theme and allow directory file access.
- IDE integration: Search for the "Claude Code" plugin in the extension marketplace of VS Code and install it with one click. Once configured, you're ready to launch.
Extra IDE configuration: create or modify config.json under C:\Users\YourUsername\.claude:
{
  "primaryApiKey": "你的API密钥"
}
Congratulations! Claude Code is installed and deployed successfully. Now enjoy AI-assisted coding! 🎉🎉🎉
6. Common troubleshooting (Method 2)
- Login error "country/region not supported": Enable TUN or virtual network card mode in your VPN.
- Missing API Key: Check that
settings.jsonis configured correctly, then retry in a new terminal or IDE. - jq configuration failure: Make sure Git Bash is installed, and restart the terminal.